Показаны сообщения с ярлыком sewing techniques. Показать все сообщения

суббота, 16 января 2016 г.

Another regency bodice -- Снова лиф ампир

   This is another experience of sewing a bodice from a regency dress pdf pattern, which I have done before http://inspirationdecostume.blogspot.ru/2015/04/regency-empire-bodice.html, but, of course I tried to make it better than the previous one. The bodice was cut in two layers of linen fabic (flatlined): one piece cut on the grainline (legthwise grain), the other on the cross grain (the crosswise grain). The bust darts are done with the backstitch which adds some shape. The bodice is fitted and fixed with a belt at the back.
   (I want to lengthen the back the next time I endevour to esperiment with regency empire). The main problem I had was the grainline -- the side parts of the bodice have are on the bias and they stretch a lot giving waves on the back and makes adjusting aunder the bust difficult. Next time I would like to try cutting cutting bias edge on the straight grain threads.
   Я уже шила по этой готовой выкройке лиф к платью ампир. Теперь еще одна вещь, которую я пыталась кроить точнее по выкройке. Лиф двойной, как говорят, дублированный той же тканью (лен), скроены эти две части вместе, одна по долевой, а другая по поперечной нити.. Вытачки выполнены швом "назад иголку", что придает определенную выпуклую форму. На спинке лиф фиксируется на фигуру поясом.
   Спинка лифа коротковата, хочется удлинить. Основная проблема была с шитьем срезов по косой, идущих в боковых частях лифа: если резать ровно, то они очень сильно растягиваются и волнят. В следующий раз я хочу обрезать (кроить) косую деталь по прямым нитям. 
   Some photos of the sewing process and the bodice on me. Несколько фотографий процесса и лиф на мне. 

воскресенье, 11 октября 2015 г.

Madeleine Vionnet sewing techniques

   This is an extract from the "Threads Magazine" article by Betty Kirke, on the designer's sewing techniques. http://www.bettykirke.com/articles/threads/threads.html
"  The seams Vionnet chose could be the usual overcast seams seen in most dresses of the haute couture. The green dress of velvet patchwork at the top of this article demonstrated that to the extreme. Seams for all 153 parts were opened and overcast, as were all neck and hem edges, and a flat gold thread was couched over the seams on the right side. The same treatment was given to the edges.
   Vionnet stated in a post-opening interview that one reason she started to use bias was that it possessed an inherent stretchability. By making dresses that could be put on over the head, she created garments that were both easy to get into and out of and comfortable to wear. This anticipated the functional quality we find in knits today.
   Once into the use of bias as a stretchable medium, there would be problems to solve on both sides of the spectrum. When she didn't want the stretching to occur, what should she do? When she wanted it to occur, what solutions would she devise?
   Generally, when curved seams are opened, the seam allowance won't lie flat when pressed back. If the allowance is convex, the outer edge is longer than the seamline and will tend to ripple and be bulky. If the allowance is concave, the shorter edge prevents the allowance from lying flat by holding it in. If the edge of the allowance is stitched, whether by machine or hand, that, too, will hold in the edge of the seam.
There are solutions to this problem. A narrow seam lessens the difference in the lengths of the edge and the seamline. Slashing the allowance sufficiently, as close to the seamline as possible, permits the edge to open, thus correcting the difference in lengths. A third choice is to eliminate stitching at the edge.
   Vionnet used all these methods. Because she worked so many parts and seams on the bias, she had additional problems of allowing the stretch to be at its optimum. On one coat, intended to hug the hip area, the seams were heavily slashed, and there was no overcasting stitch at the edges of the allowance - not a finish one would ordinarily, attribute to a haute couture garment.
   There were other considerations when hanging the cloth against the body on the bias. Because each fabric, by its fiber and weave, is going to react a little differently, Vionnet's dresses were not lined. If they were sheer, a separate lining or slip was supplied, and each part was allowed to go its own way. Coat linings were attached only to the neckline and the front facing of the opening. Often jackets had no lining.
   Necklines cut on the bias presented another problem. On a dress with slightly dropped shoulders, to prevent bias stretch at the finished edge, which was on the true bias, folded on-grain strips were stitched to each neck edge and turned back, as shown in the drawing left. The selvage was intact, so there was no need for clean seaming, making the edge thin and flat, while controlling the neckline stretch.
   Another neckline, the concave edge of a circular cut, was slightly scooped in front and back. It was not necessary to add a part; the solution was inherent in the cut. It works on the same principle as the concave seam allowances. The edge will be shorter than any seamline placed within the part and will thus prevent any stretching of the finished neckline. Vionnet simply folded the raw edge twice, as shown in the drawing, hiding it inside the second fold, on the reverse. Only a narrow edge shows to finish the neckline. 
Vionnet overcast and turned up edges for many hems, even if the cut was bias. For circular cuts and sheer fabrics, she usually resorted to picoted or rolled hems. The hem on the dress at right, a circular cut made in eyelet, demonstrates Vionnet's care for finding solutions that considered problems of both structure and aesthetics. Rather than turn back the hem, which would have caused an uneven intrusion into the pattern1 of the eyelet because of the circular cut, Vionnet cut the eyelet at the hemline. Now she had one layer of uneven eyelet pattern. The resolve for this was again both functional and aesthetic. A buttonhole chain stitch secured each loose end of the eyelet motifs, simultaneously creating an even finish line for the hem.


понедельник, 28 сентября 2015 г.

Пристежные детали -- Detachable pieces

  Этот блог довольно знаменит среди тех, кто интересуется историческими костюмами и их шитьем по старинным технологиям. Хорошая идея пристежных драпированный деталей, для драпировки: тогда нужно нижнее платье, но не нужна корсетная основа и драпировка будет облегать фигуру, а не свободно свисать. http://koshka-the-cat.blogspot.ru/2015/08/1913-mata-hari-dress-closures-and.html Красивое платье.
   The author of this blog shows a good trick with snaps (detachable draped detail) -- that's a good idea to make the draping go around the figure more tightly. 

четверг, 16 апреля 2015 г.

Как укрепить пояс -- How to stiffen a band/a belt

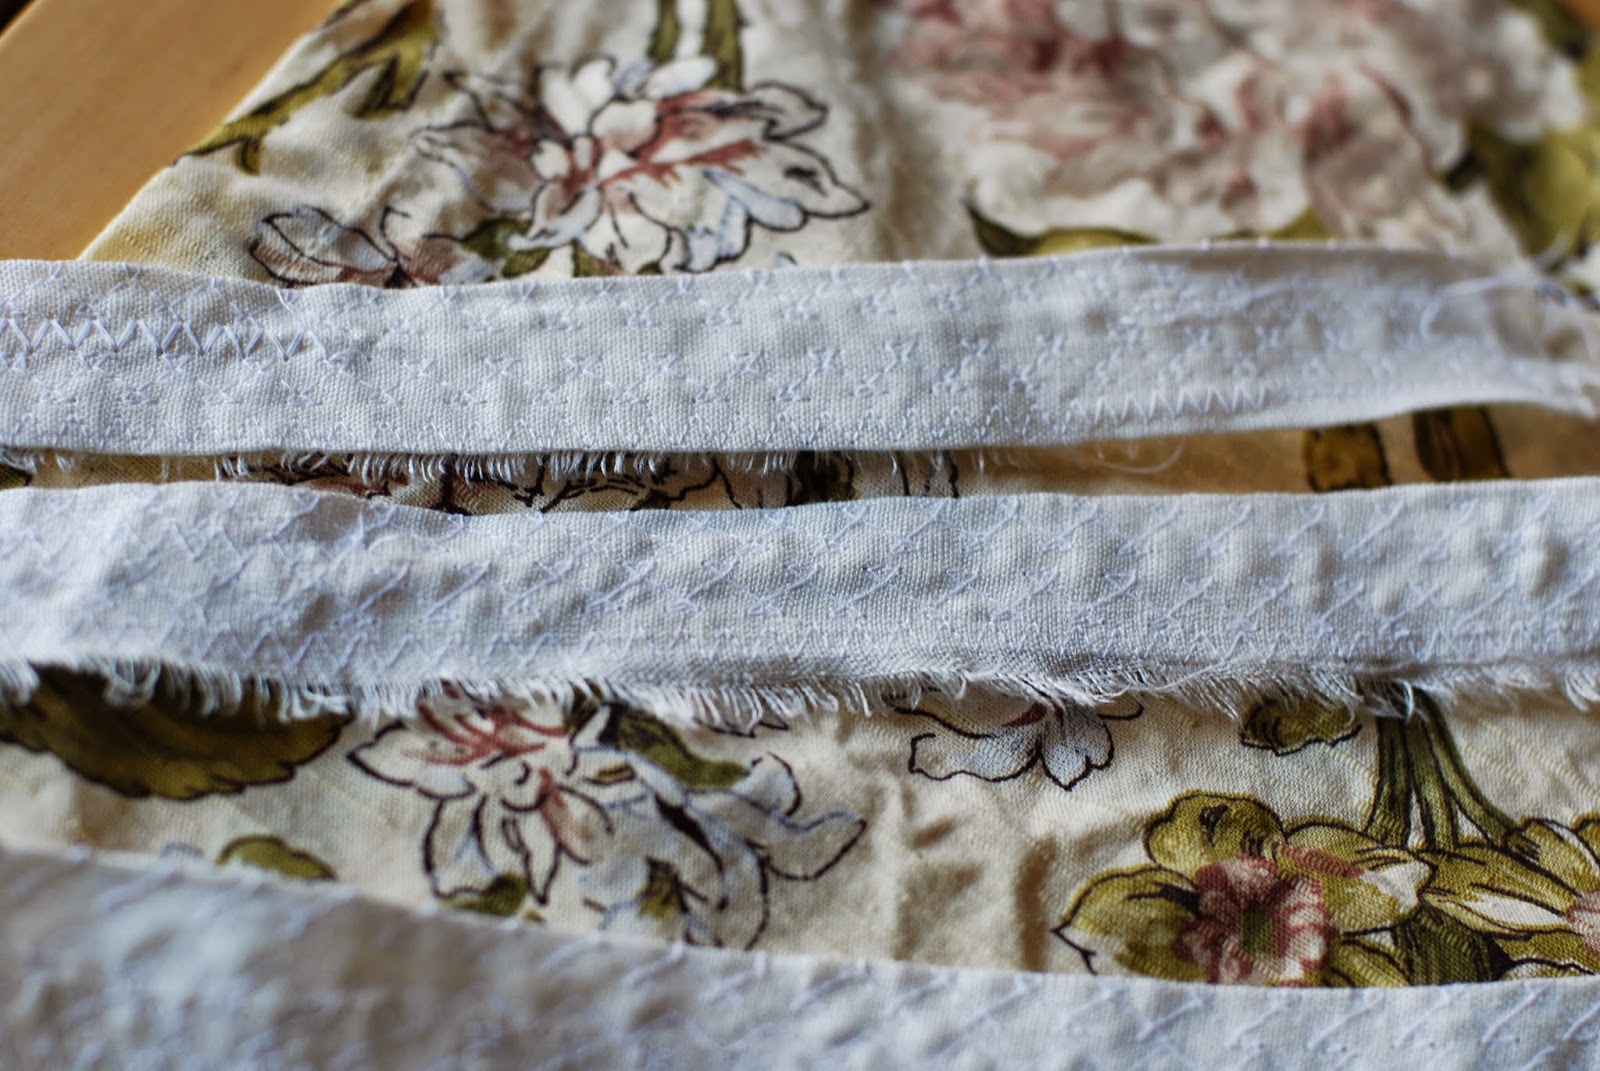
  Как укрепить пояс и любую деталь? Один из самых простых и доступных способов -- это прострачивание (прострочка), которое делается для того, чтобы не было "гармошки" (горизонтальных складок на поясе).
  How to stiffen a band, belt or any detail? The easiest way is by stitching (or quilting) it, thus preventing from folding, which prevents crinkles.
P.S. However it is important to make sure to take more fabric than the pattern requires, as it shrinks when machine-sewn. Важно помнить, что подготовленная для отстрочки деталь должна быть больше. чем готовая (с запасом), поскольку при прострачивании на машинке они уменьшаются (сжимаются).

пятница, 3 октября 2014 г.

Исторические техники шитья: льняной жакет (ампир)

  О подкладке. В этом блоге Катерина показывает детальные фотографии изделий и своей коллекции и рассказывает, как сделано. http://koshka-the-cat-antiques.blogspot.ru/2013/06/a-1790s-brocade-bodice.html#more
Жакет 1790 г.
 "The bodice is made of a lightweight brocade lined with two different linens. The body and sleeves are lined with a smooth, tightly woven linen and the collar is lined with a coarse, loosely woven linen. The center front extension is lined with a slightly rough glazed wool twill."
 "Жакет сделан из легкой парчи с подкладкой из двух разных видов льна. Лиф и рукава на подкадке из гладкого льна плотного переплетения, а воротник на подкладке из грубого льняной ткани свободного переплетения. Планка (надставка) в середине переда на подкладке из грубоватой вощеной шерстяной ткани саржевого (диагонального) переплетения."

Техника шитья: ручном простегивании итальянской мужской одежды XV в фарсетто

  Простегивание (стежка) вещи применятеся для придание формы одежде, чтобы детали деражи форму.  В современной одежде это также актуально для пиджаков, курток и др. 
  Из истории шитья: раньше были стеганые юбки стеганые жакеты-корсеты....
  Из техник также очень близко прострачивание, квилтинг.
  The following link shows a curious article on how to do the pad stitching by hand for the XV c. renaissance male clothing called 'farsetto' in Italian. Pad-stitching is a technique that helps to mould (sculpt) a garment and keep the form.
   The technique is close to quilting (stitching): in the history of fashion there were quilted and corded skirts and jackets and corsets...
  Статья Liz Jones на английском языке, как шить фарсетто, итальянскую мужскую одежду XV века. Исследование. Использование ручных швов. Исследование и реконструкция. http://home.earthlink.net/~lizjones429/farsetto.html
Измененный шов "назад иголку" для пришивания сборенных рукавов, швов не видно с обоих сторон.

 Пунктир -- под. Линия -- наверху.